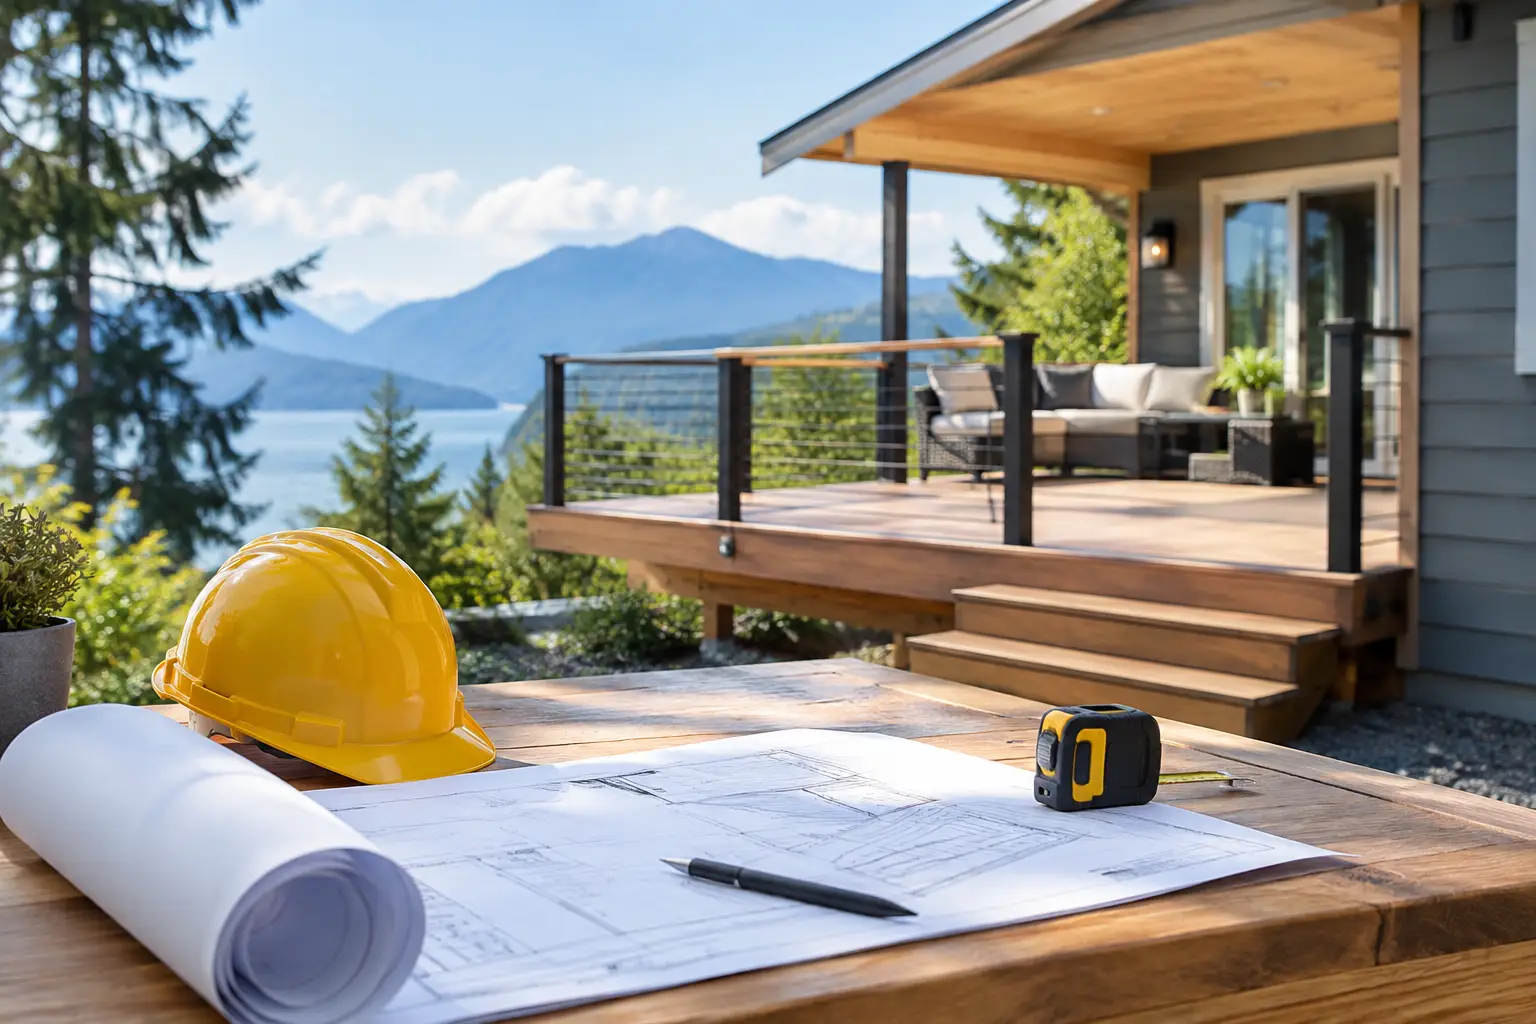
A deck can look straightforward on paper: posts, beams, boards, and a place to sit outside. But once it attaches to your home, rises above grade, or sits close to a property line, it becomes a structural project with real permit considerations. This deck building permit guide explains what BC homeowners should confirm before materials arrive, helping prevent costly redesigns, inspection delays, and details that do not stand up to wet coastal conditions.
When Does a Deck Need a Permit?
In most Vancouver Island communities, a permit is commonly required for a new deck, a significant replacement, or an alteration that changes the deck’s size, structure, height, loading, or connection to the house. A permit may also be required when a project includes stairs, guards, a roof cover, electrical work, or changes to an existing outdoor structure.
There are exceptions in some jurisdictions for small, low, freestanding platforms. Those exceptions are not universal. A deck that is low to the ground may still be subject to zoning rules, setback requirements, site coverage limits, or drainage considerations. Treating a low deck as automatically permit-free is one of the easiest ways to run into trouble later.
Your local municipality or regional district has the final word. Before finalizing a design, confirm whether the work needs a building permit, development permit, or other approval for your specific property. Rules can vary between neighbouring communities, especially for waterfront, rural, steep-slope, environmentally sensitive, or strata properties.
Start With Zoning, Not Lumber
A building permit confirms that the proposed structure can be built safely. Zoning confirms whether it can be built where you want it. Both matter.
The first question is not whether you prefer a 12-by-16-foot deck or a larger entertaining area. It is whether the proposed footprint fits within the permitted setbacks from property lines, site coverage limits, easements, and any applicable covenants. Utility rights-of-way and septic fields can also limit where posts and footings may go.
For an attached deck, consider the finished height in relation to doors, windows, vents, and drainage paths. For a freestanding deck, consider access around the home, water movement, and how the structure will sit against sloping ground. A project that appears simple from the backyard can become more complicated when grades change across the site.
If your home is part of a strata, check its alteration process early. Municipal approval does not replace strata permission, and strata approval does not replace a required municipal permit. You may need both before construction begins.
What Your Permit Application Usually Needs
Permit requirements differ by local authority, but a clear, complete application generally moves faster than a vague sketch with missing dimensions. The reviewer needs to see how the deck relates to the property and how the structure will safely carry its load.
Prepare to provide the following documents and details:
- A site plan showing property lines, the house, the proposed deck, setbacks, easements, and key site features.
- A dimensioned deck plan showing the overall size, joist direction and spacing, beam and post locations, stairs, guards, and landings.
- Elevation drawings showing deck height above grade, guard height, stair configuration, and how the deck meets the house.
- A cross-section or construction detail for footings, posts, beams, joists, ledger connections, flashing, and drainage.
- Product information where required, particularly for proprietary connectors, guard systems, helical piles, or engineered components.
The drawings do not need to be elaborate for every project, but they must be legible and specific. “Posts as needed” or “beam to suit” leaves too much unanswered. Dimensions, material sizes, spans, and connection details allow the reviewer and installer to work from the same plan.
When engineering may be required
A conventional deck on sound soil may be designed using accepted prescriptive building-code tables. More complex projects can require engineering. That may include elevated decks, long spans, unusual cantilevers, retaining conditions, decks supporting a roof or hot tub, challenging soil, or structures integrated with an older home.
Engineering is not a sign that a project is overbuilt. It is a practical way to confirm load paths, foundations, and connections before the work is concealed. It can also reduce uncertainty when the design steps outside standard deck construction.
Build for Water Management, Not Just Appearance
On the coast, a deck must manage moisture as carefully as it carries weight. Rain enters through board gaps, travels along framing, and finds weak points at the house connection. If those details are ignored, the damage can occur behind finished surfaces long before it is visible from the yard.
The ledger connection deserves particular attention. An attached deck should not simply be fastened through siding without a properly considered connection, compatible flashing, and a drainage path. The wall assembly needs to remain protected while the deck transfers its loads safely to the home. In some cases, a freestanding design is the better choice because it reduces dependence on an existing wall condition.
Use hardware suited to the selected materials and local exposure. Pressure-treated lumber, cedar, coastal air, and persistent moisture can create corrosion concerns if fasteners and connectors are mismatched. Properly rated connectors, corrosion-resistant fasteners, post bases that hold wood above concrete, and thoughtful flashing are not finish details. They are part of the structure’s service life.
Decking choice also affects the design. Wood decking may need different joist spacing than composite boards. Composite products can require additional support at stair treads, picture-frame borders, and breaker boards. Review the manufacturer’s installation requirements before the framing plan is locked in.
Guards and Stairs Are Safety Systems
Guards and stairs are often treated as the last items on a deck project. They should be planned from the beginning because they influence the footprint, framing, landing space, and overall appearance.
Where a deck is more than 600 mm above adjacent grade, guards are generally required under BC building requirements. Guard height and opening limitations depend on the deck height and applicable code provisions. Stairs must also meet requirements for rise, run, width, handrails, landings, and headroom. Your local building department can confirm the rules that apply to your project.
Avoid designing a guard only around the view. A slim railing profile may be attractive, but it still needs a properly anchored structure that resists the loads placed on it. Surface-mounted posts, glass panels, cable systems, and custom railings each have different support and fastening needs. Choose the railing system before the framing is complete, not after the decking is installed.
Inspections: Plan for the Work You Cannot See Later
Permit inspections are checkpoints, not obstacles. They give the homeowner and contractor an opportunity to verify that critical structural details are correct before concrete is poured or framing is covered.
The required inspection sequence varies, but it may include footing or excavation inspection, framing inspection, and final inspection. Some authorities also want to see specific connections, guard framing, or other elements at a particular stage. Ask for the inspection requirements when the permit is issued, then schedule them with enough lead time to avoid holding up the crew.
Do not cover footings, close in key connections, or install finishes over work that must be inspected first. Photos are useful project records, but they are not always a substitute for an inspection. Keep the approved drawings and permit information available on site so the work can be checked against the approved plan.
Common Permit Mistakes That Cost Homeowners Time
The most expensive problems are usually preventable. Homeowners often begin construction before approval, assume an old deck can be rebuilt exactly as it was, or order materials before confirming the final design. An older deck may not meet current standards, and a replacement can trigger requirements that were not in place when the original was built.
Another common mistake is focusing only on the visible deck surface. The permit reviewer is looking at footings, spans, connections, guards, stairs, and the relationship between the new structure and the home. A clean finish starts with the framing and moisture details underneath it.
Clear communication also matters. If the scope changes after approval, such as adding a roof cover, extending the deck, or changing the guard system, ask whether a revision is needed. It is easier to address a change on paper than after the installation is complete.
A Better Way to Plan Your Deck Project
Begin with a site visit and a realistic conversation about how you will use the space. A dining area, barbecue zone, stair access to the yard, privacy screen, or future pergola all affect the right layout. From there, confirm local requirements, develop a buildable plan, and select materials that suit the home’s exterior and expected weather exposure.
A qualified contractor can help coordinate the practical details, but permit responsibility and application requirements should always be clear before work starts. DryTek approaches outdoor structures with the same attention given to roofing and siding: sound preparation, durable materials, precise finishing, and details built to protect the home.
A properly permitted deck is more than paperwork completed before construction. It is a chance to make smart decisions while changes are still easy, so the finished space feels solid underfoot, drains properly, and gives your home a durable place to enjoy for years.
Leave a Reply