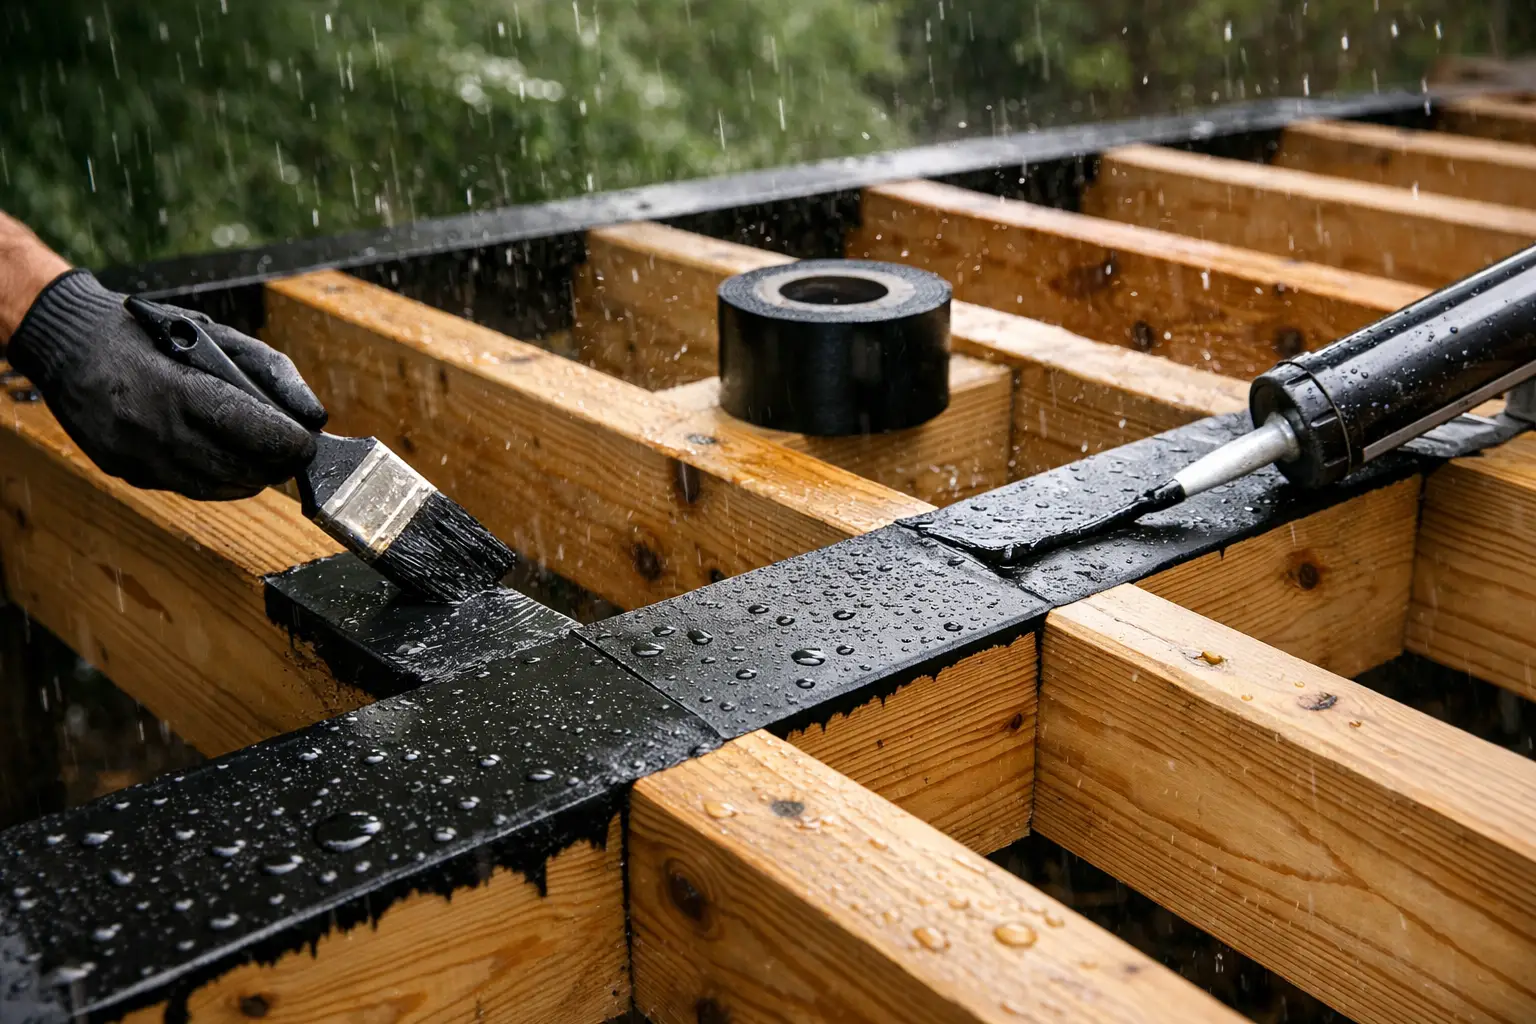
A finished deck can look excellent while hidden moisture slowly shortens the life of the structure below. On Vancouver Island, frequent rain, damp air, and debris trapped between deck boards can keep joists wet for long periods. Knowing how to waterproof deck framing means protecting the areas where water lingers most, while still allowing the framing to dry properly.
This work is most effective during a new build or a full resurfacing project, when the joists and beams are exposed. It is a detail-first job: good drainage, compatible materials, careful flashing, and clean installation matter far more than simply applying a coating.
Start with the right framing and layout
Waterproofing products are not a substitute for sound framing. Begin with lumber rated for exterior ground-contact use where the design and local requirements call for it. Even treated lumber benefits from added protection, especially at horizontal surfaces where water collects.
The deck should shed water rather than trap it. Deck boards need appropriate spacing for drainage, and the frame should be laid out so leaves, moss, and dirt can be cleaned from between boards. If a deck is low to the ground, airflow becomes even more important. Wet framing in a tight, shaded space will dry slowly, no matter how good the protective tape may be.
Check the condition of every joist before covering it. Replace split, twisted, soft, or heavily checked lumber. Pay close attention to cut ends, notches, bolt holes, and joints. Pressure treatment protects lumber, but cuts made on site expose untreated wood fibres and should be treated with an approved end-cut preservative before the deck is assembled.
How to waterproof deck framing at the joists
Joist tape is one of the most practical ways to protect deck framing. This self-adhered flashing tape is installed along the top edge of each joist before the deck boards go down. It creates a barrier between the board fasteners and the wood, reducing water entry at the hundreds of screw penetrations across a typical deck.
Use a tape intended for deck framing, not a general-purpose interior or house-wrap tape. Quality joist tapes are designed to stay adhered through seasonal movement and tolerate exterior moisture. Some have a butyl adhesive, while others use asphalt-based compounds. The right choice depends on the lumber, fasteners, temperature during installation, and compatibility with other materials in the assembly.
Apply tape to clean, dry framing whenever possible. Centre it on the joist, press it firmly into place, and avoid wrinkles that can hold water. A roller helps create consistent adhesion, particularly in cool weather. Extend the tape down the sides of the joist slightly, but do not wrap the entire member in an impermeable membrane. Framing still needs a path to dry.
At doubled joists, beams, and built-up members, protect the top surface and pay particular attention to seams. Water that enters between two pieces of lumber can remain there far longer than water on an exposed face. Depending on the design, a narrow strip of compatible flashing between members may be appropriate before they are fastened together.
Treat fasteners, ends, and intersections as weak points
Most deck rot begins at details, not in the middle of a clear span. Deck screws, ledger connections, post tops, beam pockets, and cut ends all require deliberate attention.
Use corrosion-resistant fasteners suited to treated lumber and coastal conditions. Hot-dip galvanized or stainless-steel fasteners are common choices, but the right specification depends on the connectors, lumber treatment, and exposure. Mixing incompatible metals can lead to staining or accelerated corrosion, so follow the connector and fastener manufacturer requirements.
Every field cut should receive end-cut preservative. This includes trimmed joists, notched posts, beam ends, and blocking. Give the product adequate time to absorb and dry as directed before applying tape or enclosing the detail.
Blocking can also create moisture traps when it is packed tightly against areas that receive regular runoff. Install blocking where the structure requires it, but avoid details that collect debris or seal off drainage routes. Clean lines and accessible gaps make future maintenance much easier.
Flash the ledger properly
The ledger is the most critical waterproofing detail on an attached deck. It is the horizontal member fastened to the house, and a failed ledger flashing detail can direct water behind the siding and into the wall assembly. That can cause damage well beyond the deck itself.
A proper ledger installation begins with the correct structural attachment to the home, not nails or casual fastening through siding. The siding and cladding details may need to be opened up so flashing can integrate with the wall’s weather-resistive barrier. The flashing must direct water out and over the exterior finish rather than allowing it to run behind it.
This is not a place for surface caulking as the primary defence. Sealants can support a good flashing detail, but they eventually age and crack. Layered flashing that uses gravity to move water away from the building is the lasting solution.
Many homes also benefit from a gap between the ledger and wall where permitted by the design, allowing water to drain and air to circulate. The correct approach depends on the wall construction, cladding type, local code requirements, and engineered deck design. When there is any uncertainty, have an experienced exterior contractor assess the connection before work begins.
Protect beams, posts, and hardware
Beams and posts need a different strategy than joists. Their large horizontal surfaces, connections, and exposed end grain are especially vulnerable. Apply joist or beam tape to exposed beam tops where deck boards do not cover them, and treat all cut ends.
Posts should sit on appropriate metal post bases rather than directly on concrete, soil, or a deck surface where water can collect. The base should hold the wood above standing water and provide the required structural connection. Avoid boxing in post bases with trim so tightly that they cannot drain or be inspected.
Hardware should remain visible where practical. Hidden connections can look tidy, but they make corrosion, movement, and moisture damage harder to spot. On a wet-climate deck, future inspection is part of a durable design.
Do not confuse framing protection with under-deck waterproofing
Homeowners sometimes use “waterproof deck” to describe a dry area beneath the deck. That is a separate goal from protecting the framing itself. An under-deck drainage system can divert water away from a patio, storage area, or lower-level entry, but it does not replace joist tape, ledger flashing, or treated cut ends.
In fact, a ceiling or drainage system below the joists can reduce visibility and slow drying if it is installed without adequate ventilation and service access. If you want dry space below, design the drainage layer and the framing protection together. There should be a clear path for water to leave the assembly and a practical way to inspect the structure later.
Install deck boards without defeating the waterproofing
Once the framing is protected, install deck boards with consistent spacing. This allows rainwater and debris to pass through instead of sitting along the board edges. Follow the board manufacturer’s spacing requirements, particularly for composite decking, which can expand and contract with temperature changes.
Fasten boards carefully. Overdriven screws can create depressions that hold water, while loose fasteners allow movement and can damage the tape below. If a board must be removed later, inspect the tape and replace damaged sections before reinstalling the board.
Keep the deck clean after construction. Seasonal removal of leaves, fir needles, planters, and trapped soil is simple maintenance that protects the investment below. A deck that can drain and dry will generally outlast one that is constantly covered in organic debris.
When professional detailing is worth it
Straightforward freestanding decks can be manageable for experienced DIY builders. Attached decks, low-clearance structures, second-storey decks, and projects that alter siding or require structural changes deserve professional planning. The cost of correcting a leaking ledger or a poorly drained deck after the finish boards are installed is far greater than getting the details right at the framing stage.
For Vancouver Island homes, durable deck construction comes down to thoughtful water management, not a single miracle product. Protect the framing before it disappears beneath the boards, keep drainage routes open, and make every connection work with the weather rather than against it.
Leave a Reply